You know I LOVE no-bake cheesecakes and have so many different flavours in my collection. This one was originally based on my Oreo Cheesecake and my Nutella Cheesecake. These are both BIG cheesecakes, and I really wanted to come up with something this year that was: ⭐️ A delicious easy-to-make dessert for a party or crowd.⭐️ Very low effort.⭐️ Reasonably affordable. SO… here is my Biscoff Cheesecake, which ticks all of those boxes and more!
Why you’ll love this Biscoff Cheesecake recipe
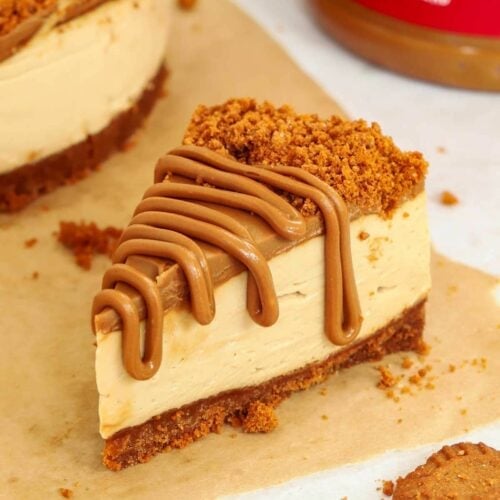
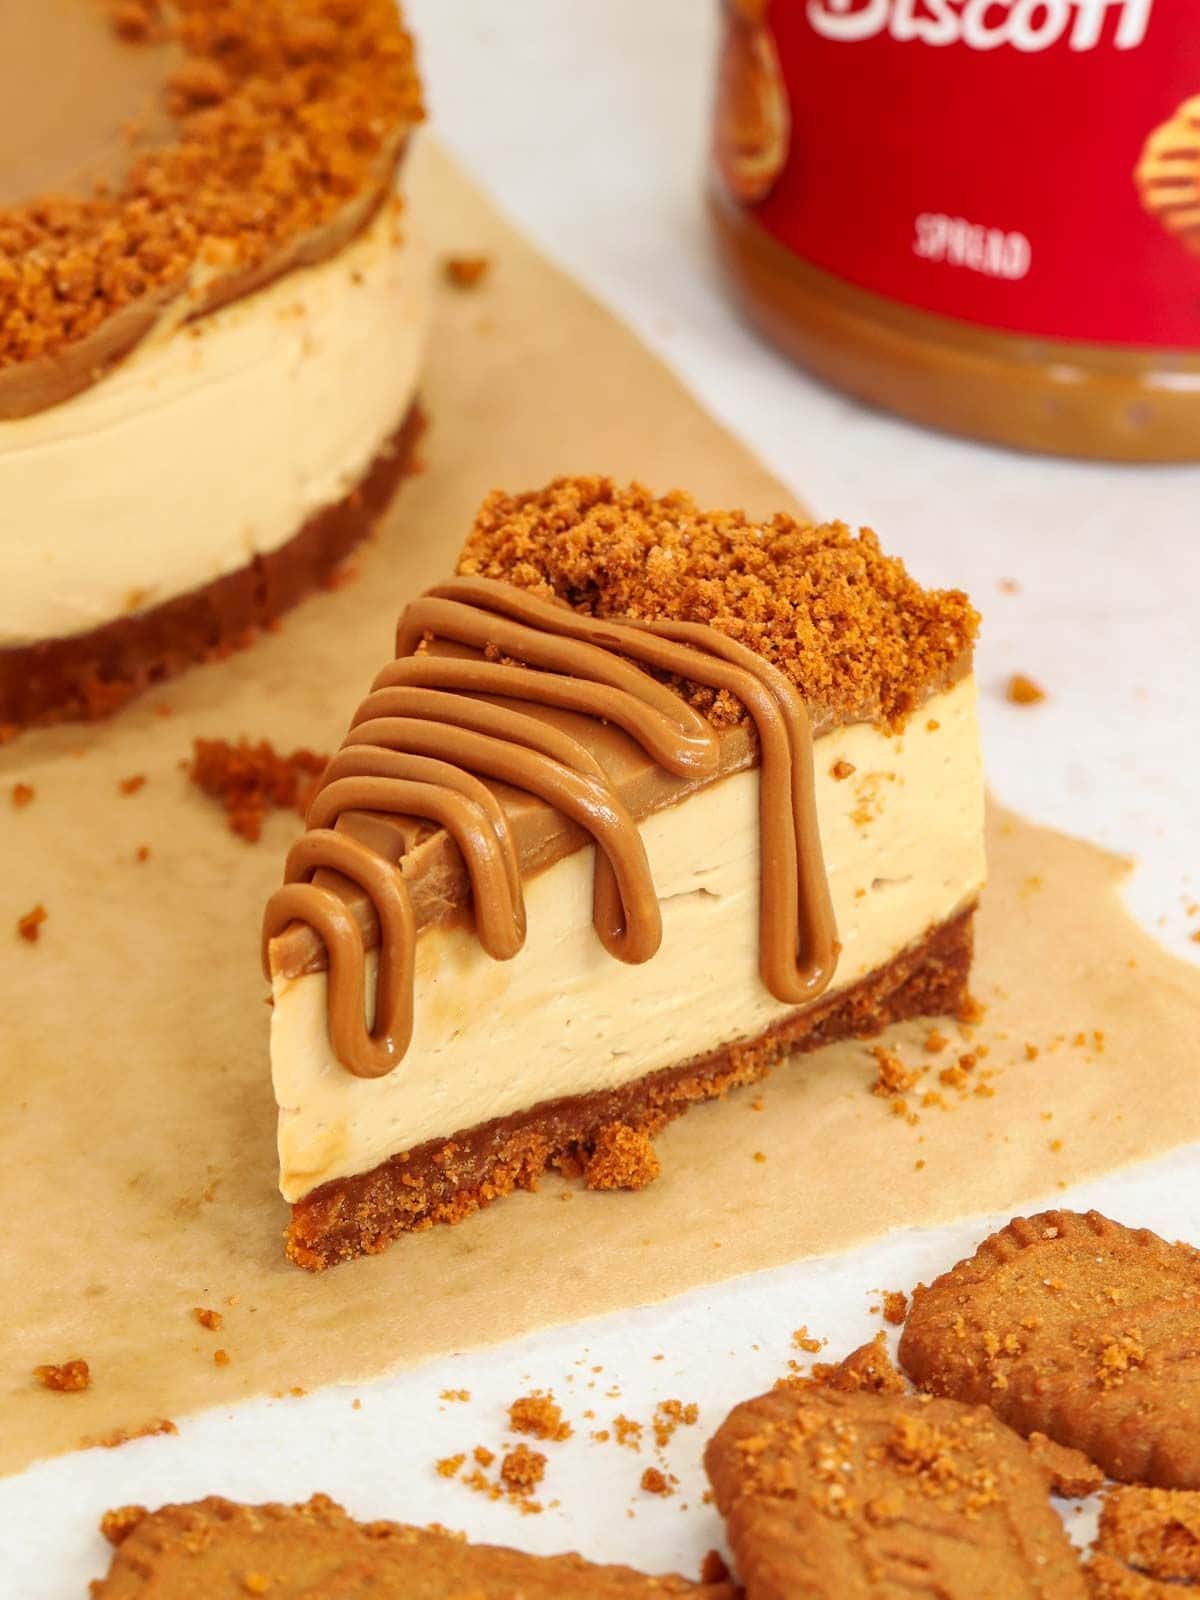
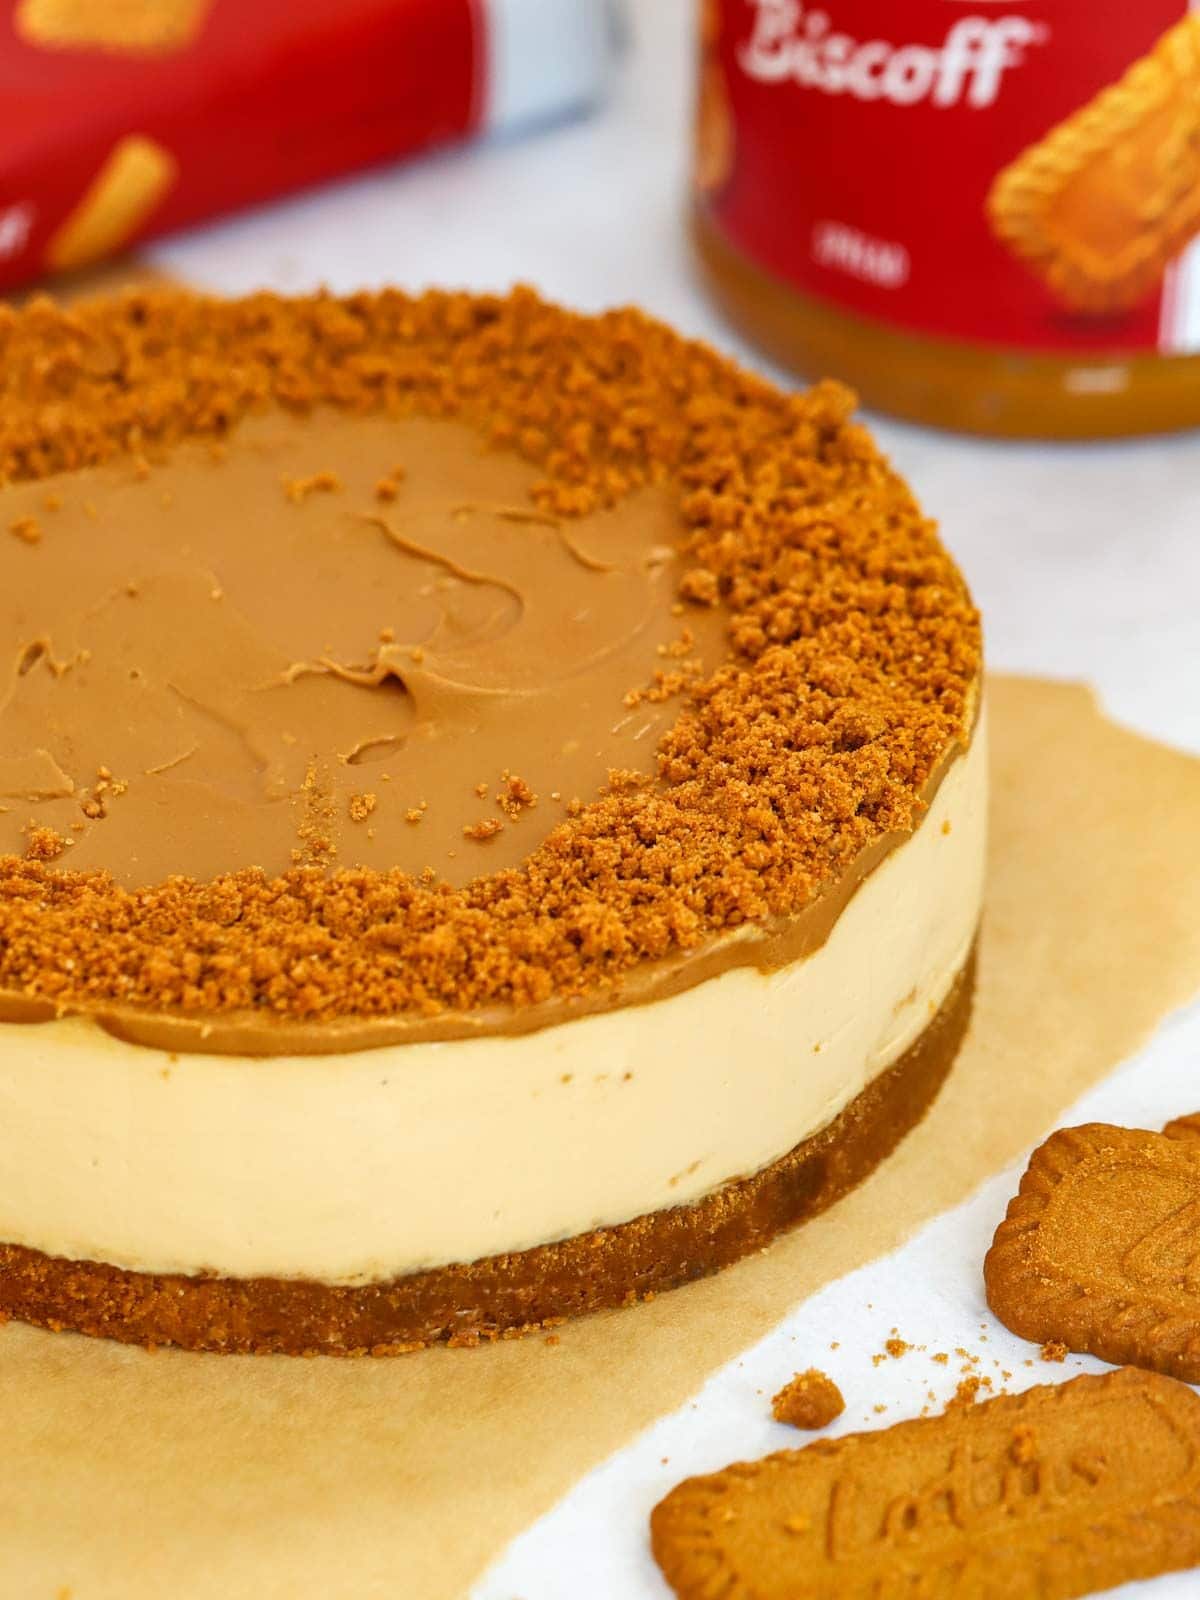
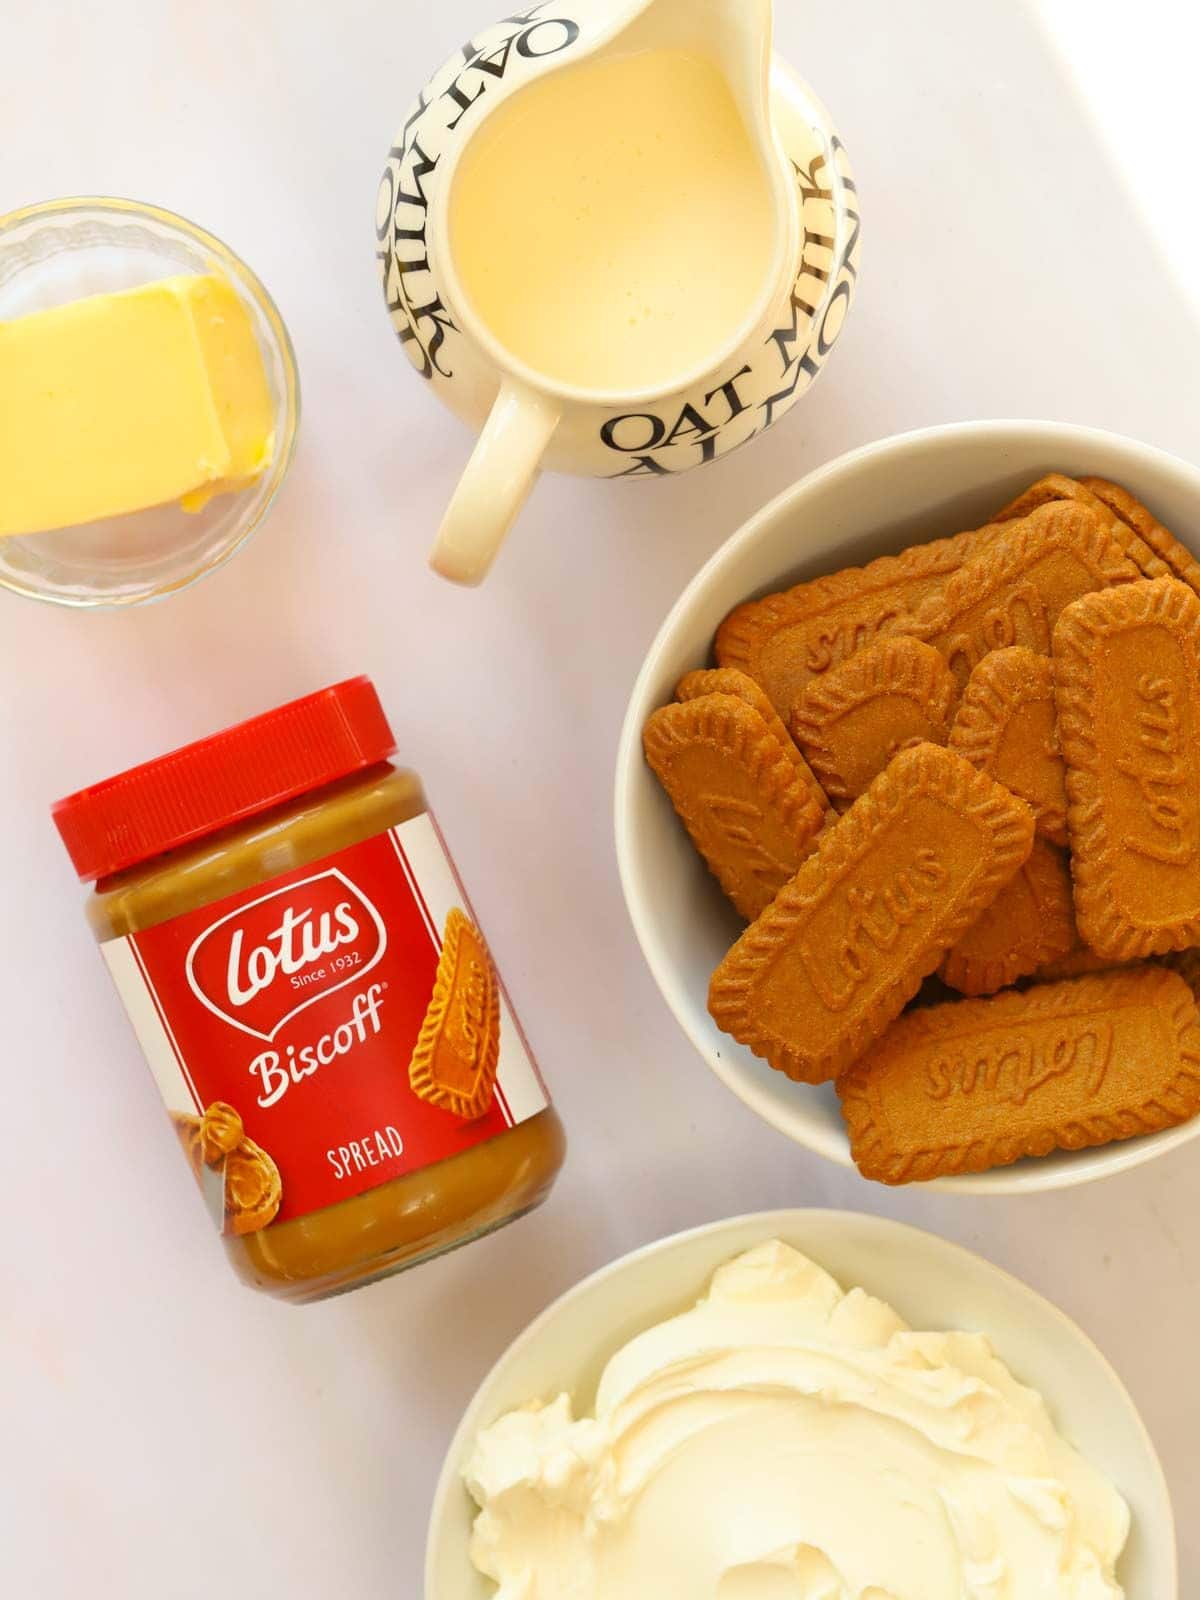
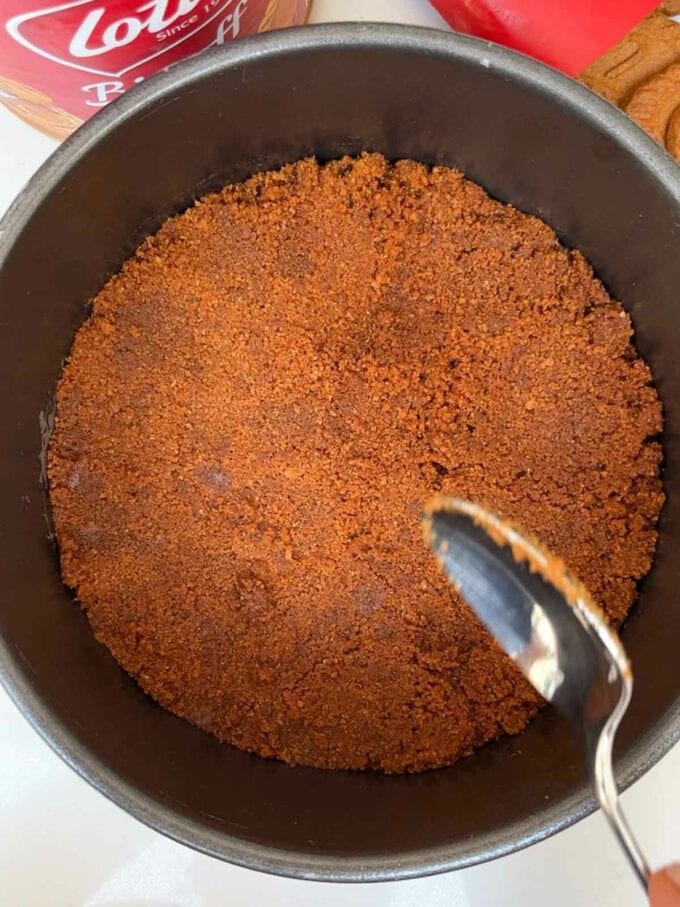
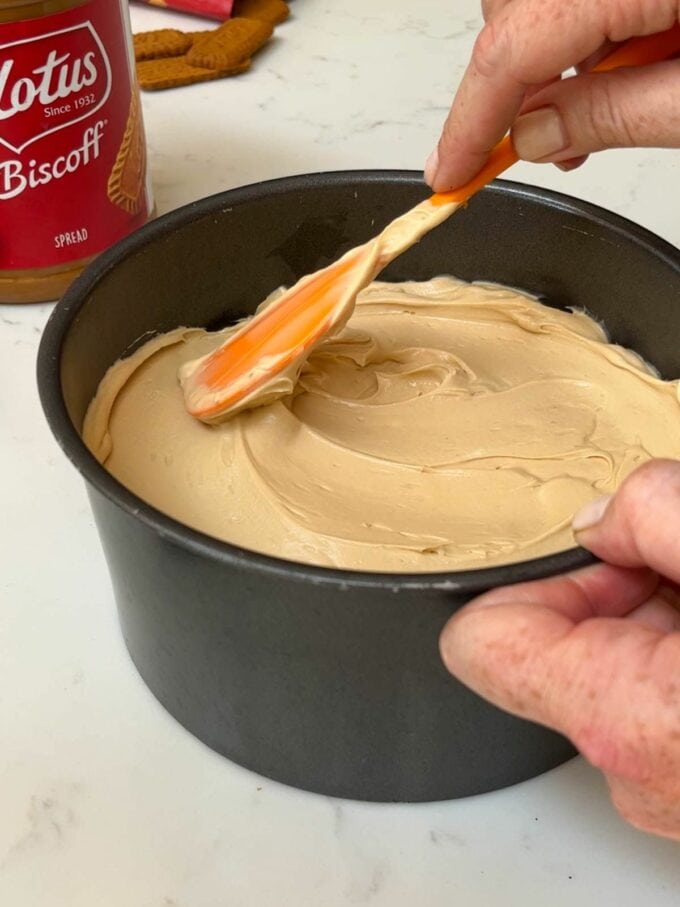
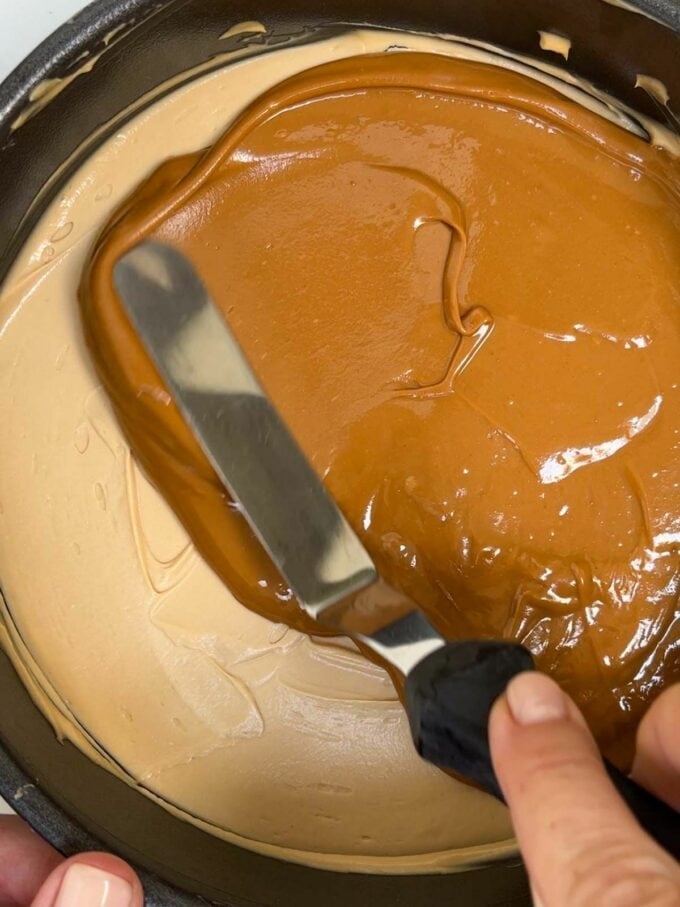
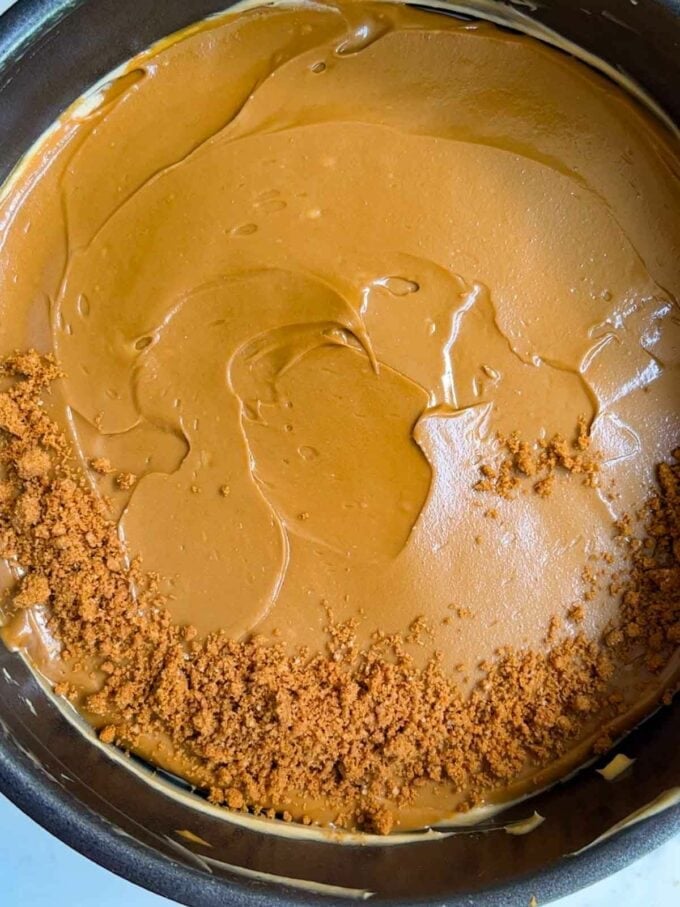
⭐️ Simple ingredients + super easy method = great for beginners ⭐️ A show stopping impressive dessert ⭐️ Make ahead for convenience When testing this recipe, we decided to use Lotus Biscoff spread to not only sweeten it (so no need for more sugar), but also decorate it. This means fewer ingredients and processes = WIN! After a few trials, we also refined the ingredients list to use one full jar of Biscoff so there’s also no waste. Hurrah for 5 ingredient recipes! This cheesecake is also slightly shallower than some of my other ones (to keep it affordable), but still has the perfect ratio of biscuit base vs cream filling vs topping.
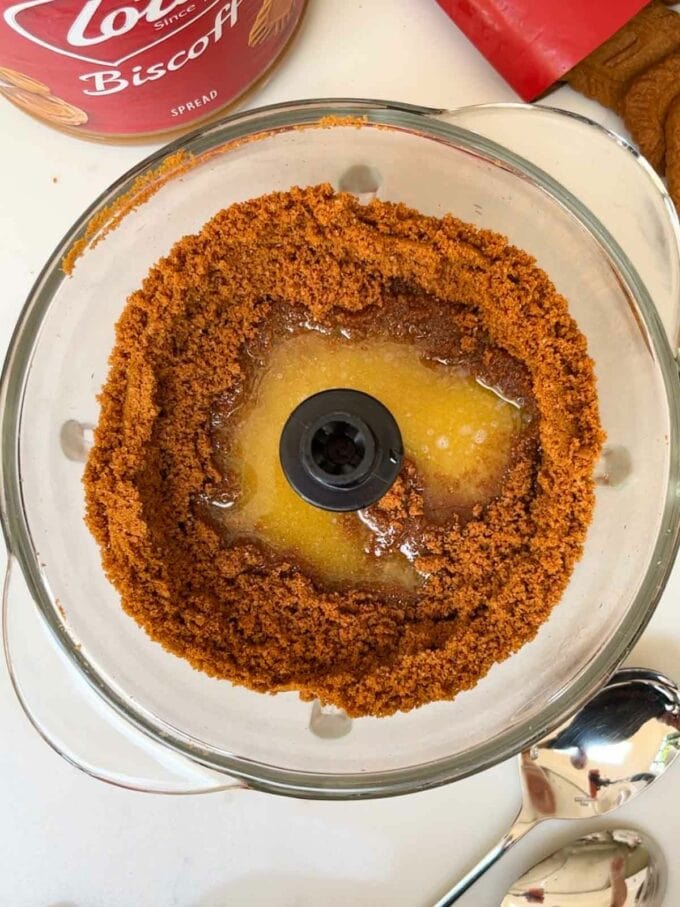
Biscoff biscuits – We’re going to crush these up Unsalted butter – Melt this quickly in a mug in the microwave
For the cheesecake filling:
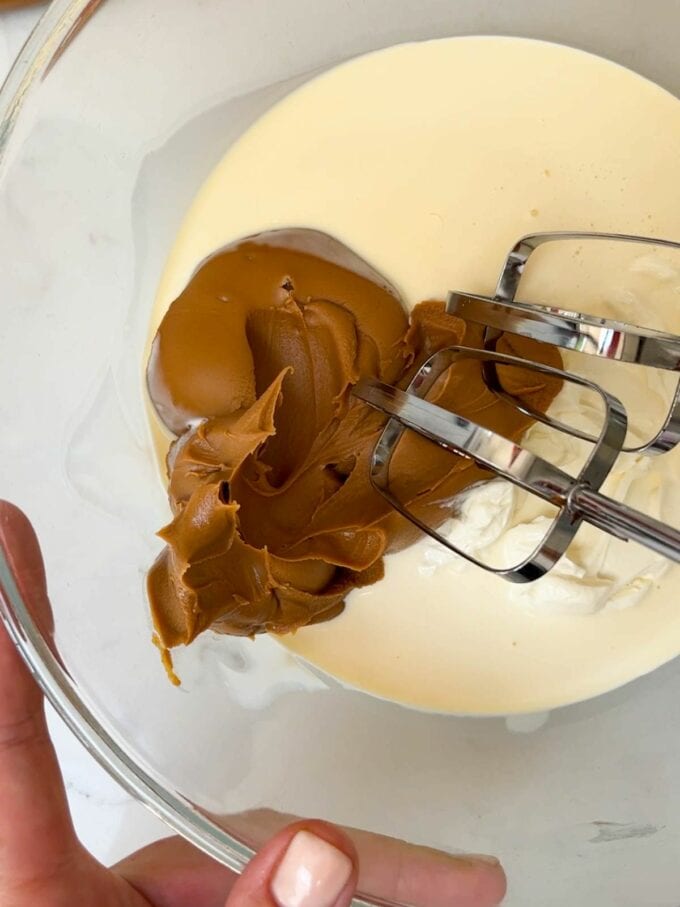
Double cream – See tips below on the required whipping consistency Full fat cream cheese – I like to use Philadelphia brand cream cheese for this recipe. You can use other brands, but I find they are SLIGHTLY more difficult to combine. Biscoff spread – OBVIOUSLY!
For the topping:
Biscoff spread – This will be very slightly melted Biscoff biscuits – Again, to be crushed
You can store the cheesecake in the fridge (without the topping) for a MINIMUM of 4 hours and up to 3 days from preparation. The results will be much better if it’s had time to chill overnight. Leave it in the tin in the fridge and cover with a dinner plate of cling film (but make sure it doesn’t touch the surface of your beautiful cheesecake!) Can cheesecake be frozen?You can also put the undecorated cheesecake in the freezer in the tin if you want to make it further in advance. Just make sure you defrost it properly in the fridge (again, in the tin) for 24 hours or until completely thawed, then decorate. Use a tin with either a springform (unclippable sides) or removable base (I like these Masterclass 7″ Removable Base tins that I’ve had for years). Warm a regular dinner knife under a hot tap and then dry it. Use this to run around the outside of the cake, inside the tin, before removing it. Remove the knife and wipe as you work your way around the cake. If you have a removable base, sit the tin on a tall glass and carefully press down so the sides of the tin can slip down lower than the cheesecake and you can easily remove it. Melt this very gently in the pan so it loosens up. Don’t let it get too hot but warm enough to pour over the top of the cheesecake until it’s covered all over. Also I’d LOVE to see your cooking creations. If you’d like to share yours with me, you can tag me on Instagram (@tamingtwins).