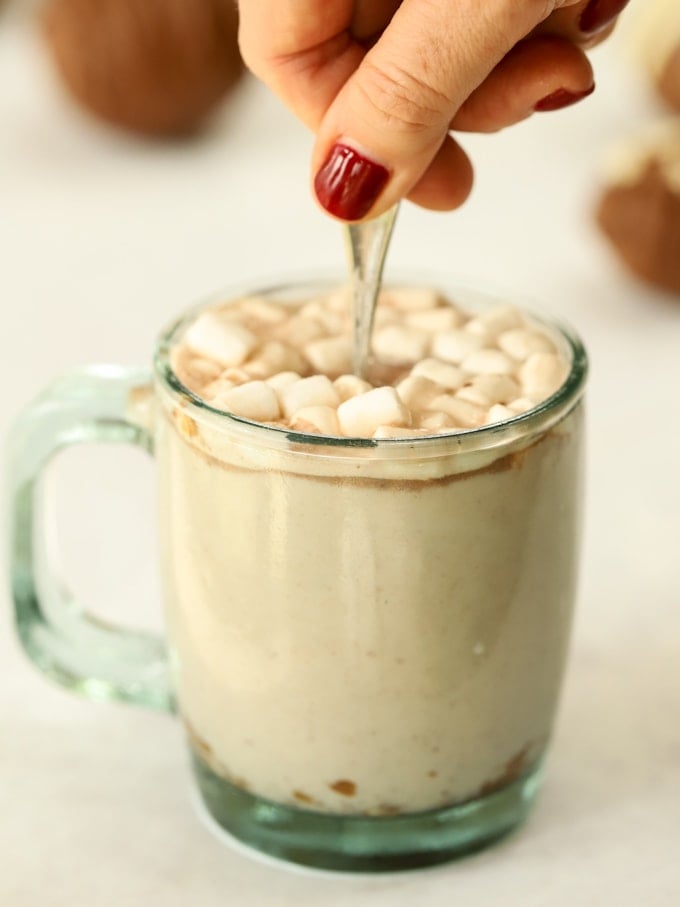
Having now made about 20 batches to perfect the technique and try and keep it as simple as possible. I thought I’d share with you in case you fancy having a fun afternoon being a chocolatier. It’s a really lovely cosy winter afternoon activity and you get to drink the fruits of your labour – yessss!
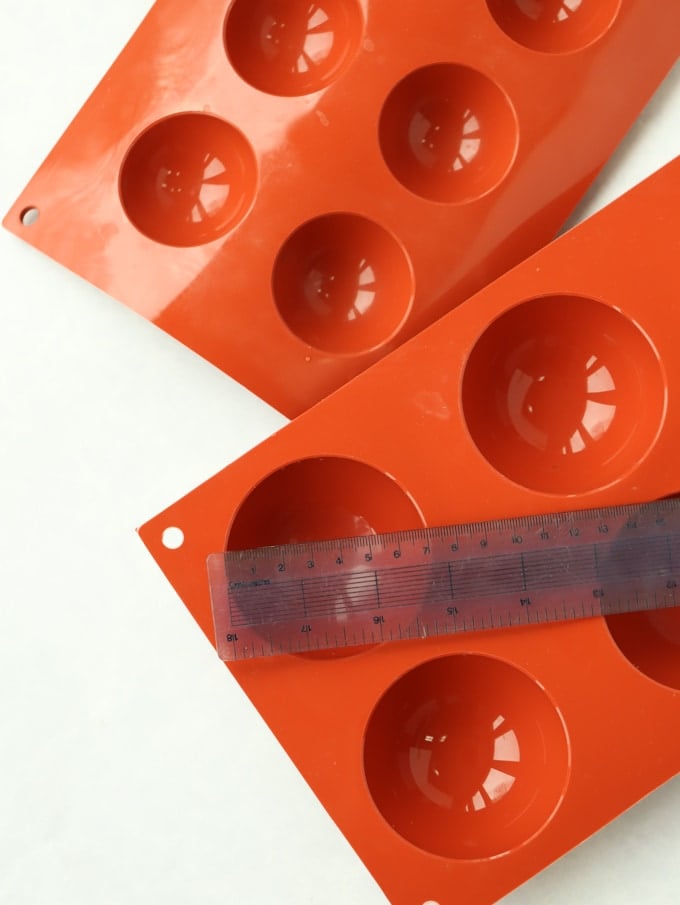
I use two different sizes: 50mm Silikomart Silicone Mould The 50mm size moulds are harder to make as they are a little more fiddly. However, they are small enough to fit in almost any mug.
70mm Silikomart Silicone Mould The larger moulds are much easier to handle BUT you do need to check first that your mugs are wide enough for them to fit in! I have form for burning chocolate A LOT in the past. It’s actually pretty simple, the key is: stir even if it looks like it doesn’t need it. It helps to move around the melting molecules so they don’t burn in one spot. So, zap in the microwave for 30 seconds, stir very well. Repeat and repeat until smooth. I always try to use Callebaut Chocolate. Here’s why:
It works out about the same price as supermarket chocolate when you buy it in bulk. It melts SO easily and is much more easy to use and handle when cooking. It tastes AMAZING.
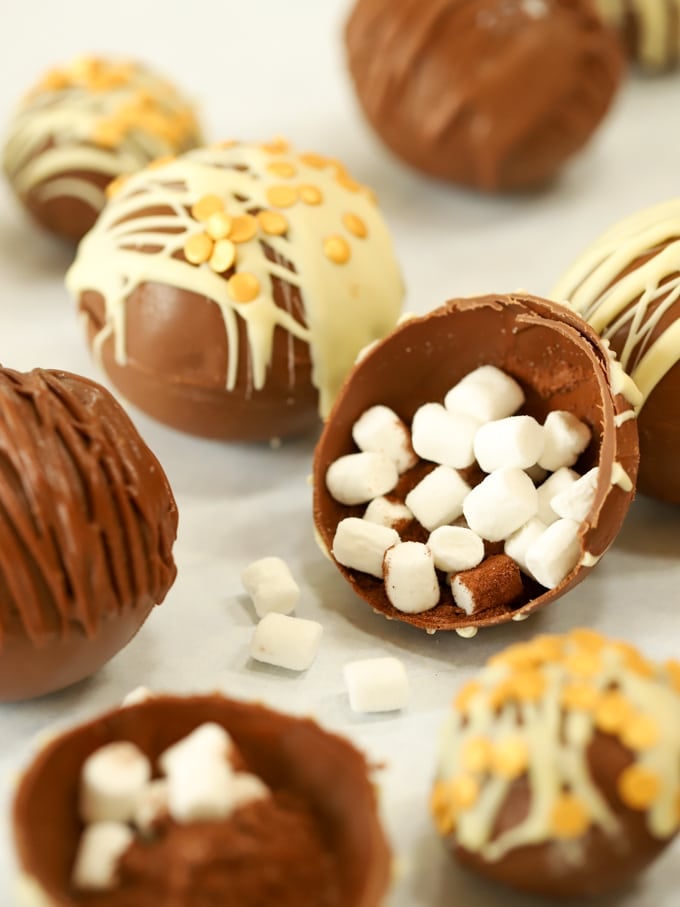
Hmm! Honestly? These would be more shiny and stable if you did temper the chocolate before using. (Tempering is a process where you heat the chocolate, cool it, and heat it again to very specific temperatures to align all of it’s molecules and make it set in a more rigid way.) However.. I don’t have the time or brain space if I’m honest. SO. I’ve made them like this with a few extra tweaks to keep them a success (extra quality chocolate, freezing, wearing gloves) without having to temper.
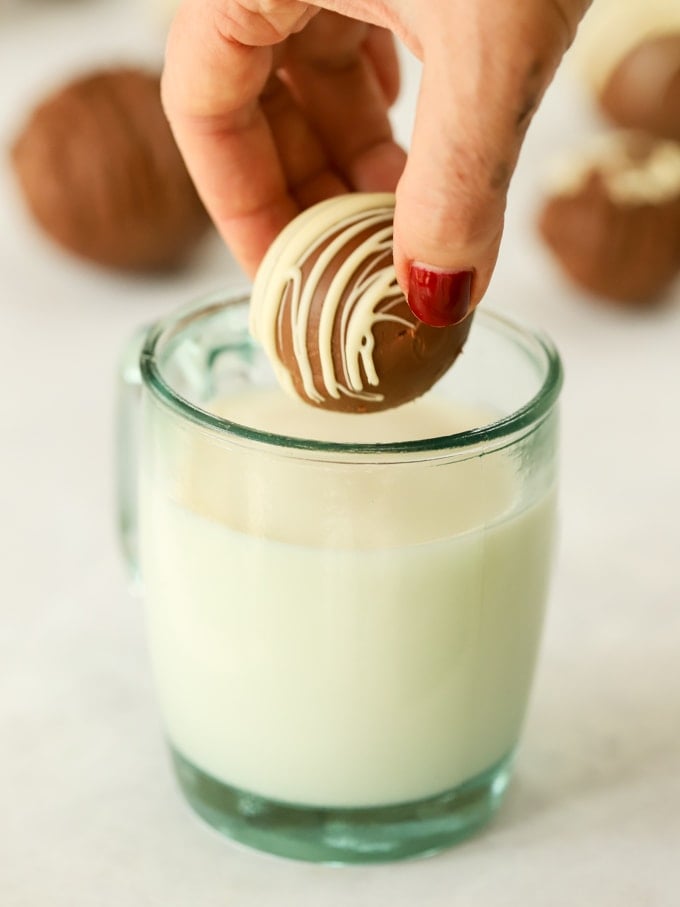
Wear disposable gloves to handle the bombs when you stick them together. Be sure to freeze (both times) until very solid. Use chocolate drizzles to hide any imperfections or fill any gaps or holes in the chocolate. If you’re really struggling with the bombs collapsing or not being sturdy enough, you can do a second coat of chocolate inside the mould. So get to point 3 of putting them in the freezer. Freeze and then repeat 1 – 3 so they are a double wall of chocolate.
Hope you enjoy this recipe as much as we do. I’d love to know how you got on and what you thought of it if you make this recipe. Please rate the recipe using the ⭐️ by the recipe. Also, if you’d like to show me a photo by tagging me on Instagram (@tamingtwins) I LOVE to see your creations.