As an all-around mom, I often have to juggle my time between my kid and making awesome recipes. Trust me, having a super energetic little boy isn’t an easy job especially when I crave homemade bread. Luckily, this recipe is an effortless alternative to traditional bread making. This recipe takes away the need to focus on it so you can have more time with your kid. I honestly think everyone should know how to make this Dutch Oven No-Knead Bread so you can use your time more efficiently. Happy baking!
How Does No Knead Bread Works? Although this awesome method of bread making takes away the labor of kneading, it still takes a lot of time. This is because the dough needs to work on itself by resting and rising. Yeast is commonly used to make the dough rise but there are other leavening agents that you can choose from. Fermentation or the activation of the yeast releases carbon dioxide in the mixture that kneads and forms the air pockets. These pockets both make the bread fluffy and works the dough as a whole. Gluten is also formed during this process which gives the bread the texture we all know and love even without kneading it.
Recipe Ingredients
I wasn’t kidding when I said that that this is a super easy recipe. It only has a handful of ingredients, some of which might already be in your pantry. It’s similar to making regular bread with just a few adjustments in the proportion. Here’s everything that you’ll need for this easy bread recipe.
All-purpose flour Salt Active Dry Yeast Warm water (Yes! It needs to be warm and I’ll tell you why in a bit) Thyme or Rosemary
You might ask why there’s an herb (rosemary) in our recipe. Friends, it’s for flavor, aroma, and texture! Also, using warm water hits two birds with one stone. Firstly, the flavor and aroma of the herbs are extracted easier with warm water. Secondly, the yeast’s reaction is faster with warmer water.
Recipe Variations and Alternatives
Gluten-free
Using gluten-free flour means we don’t have to knead the dough. The structure of the dough has little to no gluten which means the bubbles could pass through the dough easier. I suggest using almond flour or your choice of gluten-free flour.
No Yeast
I know some of you guys are allergic to yeast and that’s totally fine because we have a yeast-free version. Mix baking soda in the dry ingredients. Instead of warm water, use warm milk or mix lemon juice in the warm water to increase the liquid’s acidity. The acid will activate the baking soda creating air bubbles. This method instantly puffs up your dough so you won’t have to wait for too long.
Common Questions In Making This Bread
Why is my bread so dense? It probably has too much flour. Remember that we need to have a moist mixture so that the dough is soft enough to expand. If the dough doesn’t have enough air it might result in a denser consistency. What happens if you knead a no knead bread? You’ll have a sticky mess. The dough is intentionally sticky because we’ll be letting the air bubbles do the kneading for us. The stickiness comes from the moisture of the dough. Do I need a Dutch oven for this? No, you can bake the dough directly in a parchment-lined baking pan. However, using a Dutch oven makes an even toasty crust round-shaped bread that you’ll definitely love. How long can you let this kind of bread rise? 12 to 18 hours is the ideal rising time for this recipe. Can you overproof this recipe? Yes, you can but I wouldn’t worry much about it if I were you. This recipe is super easy that it’s hard to mess up. So even if you let it rise for too long, you’d probably still have a nice final product.
What to Serve With This?
Spreads are usually paired with bread but you’re gonna want to try this Beer Cheese Dip for a cheesier experience. Naturally, a good spread is perfect for this treat so this Garlic Butter perfectly pairs with the herby flavor of our bread recipe. Of course, we’re gonna have a meaty pick for this dish and this Brown Sugar Glazed Ham makes any day feel like a holiday for a sandwich. This Pimento Cheese isn’t just a great dip, but could also double up as a spread for bread.
Storage and Making Ahead Instructions
You can store your homemade No Knead Bread openly in a draft-free place away from moisture. This will give you a shelf life of about 3 days. When storing this bread, it is important to note the following:
These are lean bread that has little to no fat. This means that it has low preservative levels which are healthier but at the cost of shorter shelf life. The dough is stickier and moister than traditional bread. Make sure to place it in a clean container for proofing and cover it really well. We don’t want bacterial build-up. You can store the dough in the refrigerator for up to three to five days before baking. Do not use plastic to store this treat. You’ll trap the moisture inside which could lead to a mushy consistency and ultimately molds. Yikes!
More Easy Homemade Bread Recipes
Beer Bread Potato Bread Irish Soda Bread Basic Homemade White Bread Homemade Brioche Bread
How to Make No Knead Bread
Preparing the dough
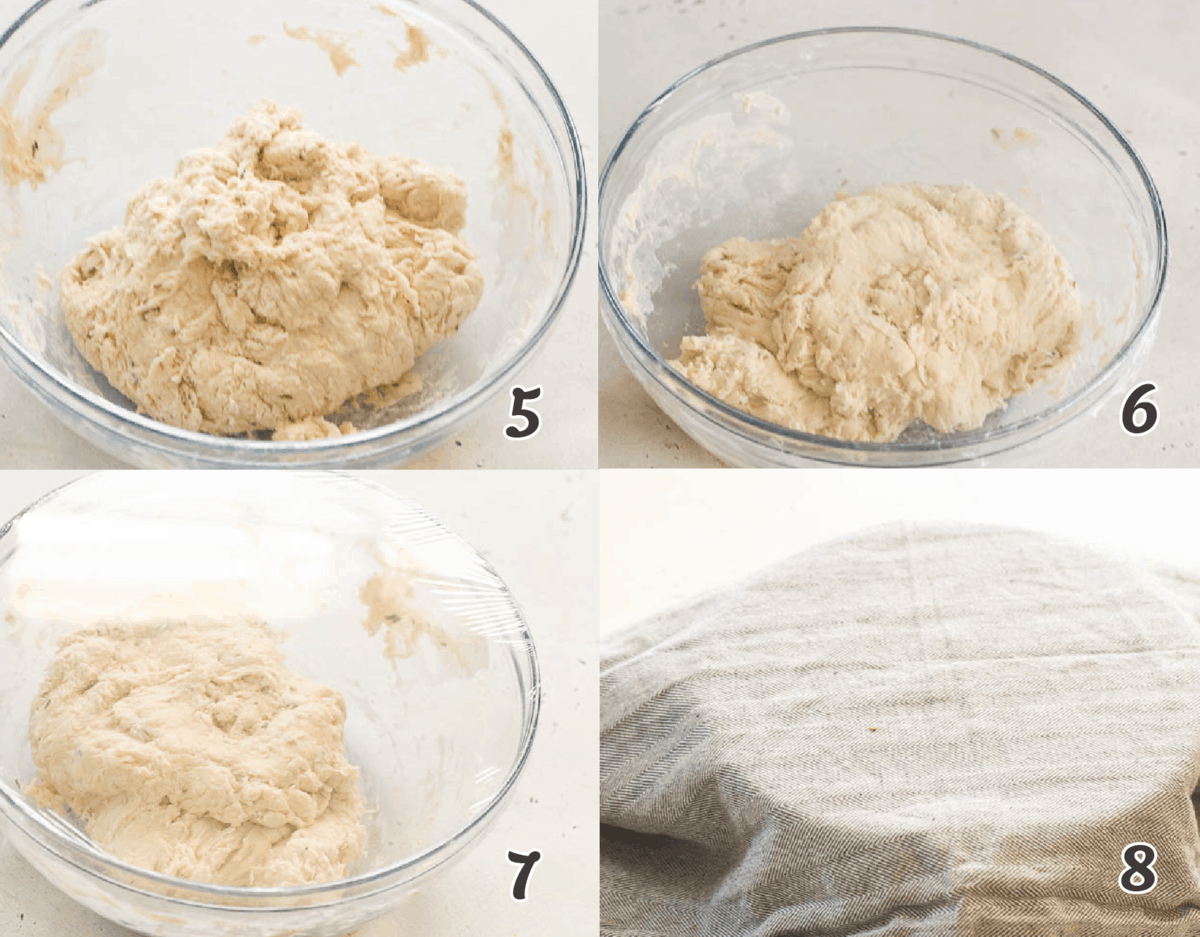
In a large bowl, mix together flour, salt, yeast, and herbs. Then add warm water and stir until all the ingredients have been thoroughly combined. The dough might be loose, messy, and sticky. Do not panic, it is ok.
Use a plastic wrap to cover the batter for it to rise. Leave it out on the countertop and let it rest at room temperature for about 12 to 18 hours. This long fermentation process helps create the crusty and airy structure of the bread. The dough should double in size and have tiny bubbles all over it. Also, the longer it rests, the better the flavor and texture.
Baking the bread
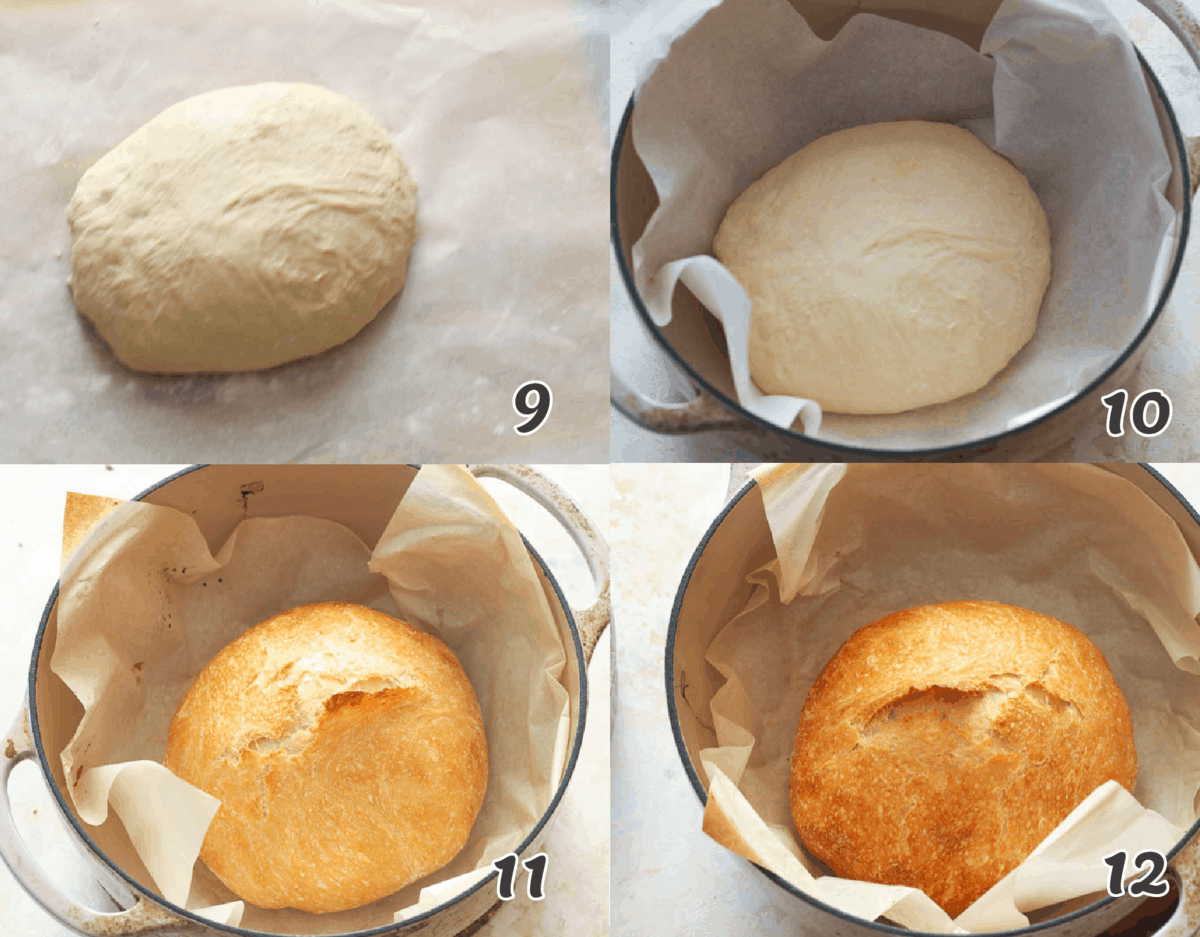
Remove the dough and place it on a floured board. Form the dough into a round ball as much as possible, no worries if it is not perfect. If it sticks to the board, dust it with enough flour to scrape off. Then cover it with a plastic wrap and let it rest for another 20 minutes. Transfer the rested dough on parchment paper. Preheat the oven to 450 degrees F. Then place the Dutch oven in the oven to heat. Let it heat up for 20-30 minutes.
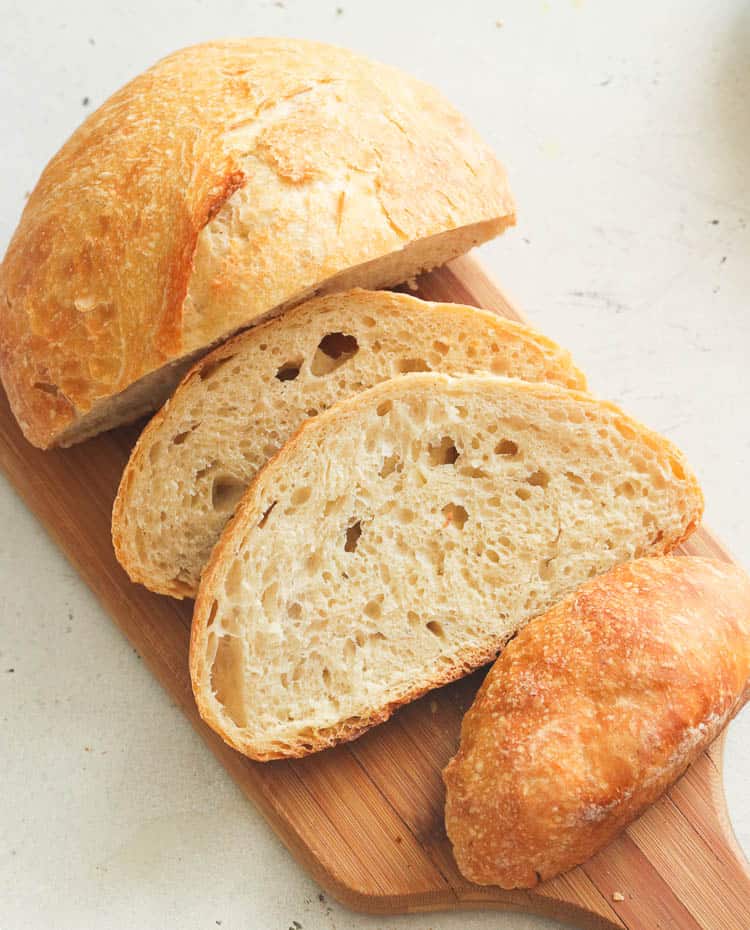
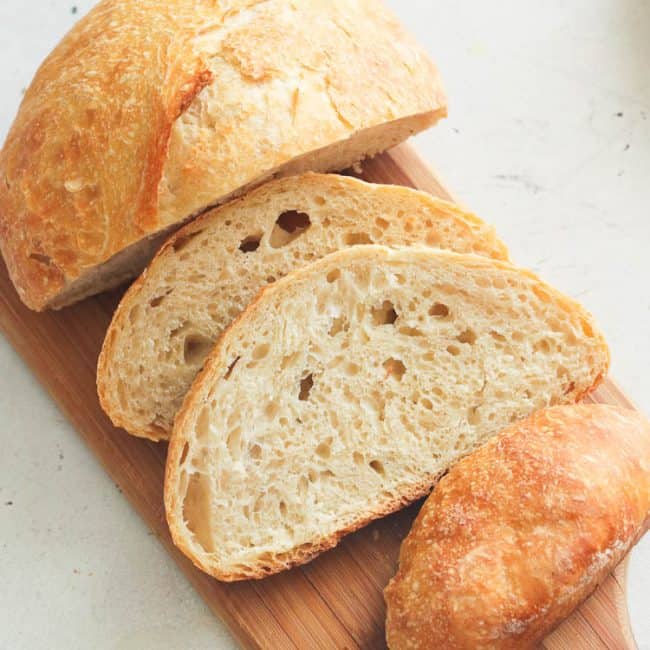
Very carefully use oven mitts to remove the Dutch oven from the oven. (It will be extremely hot – be careful!) Lift the edges of the parchment to carefully transfer the dough ball (along with the parchment) to the Dutch oven. Cover the Dutch oven with a lid and bake for 30 minutes. Then carefully remove the lid and bake for an additional 10-20 more minutes, or until the crust of the bread is brown or to your desired liking. Remove the pot from the oven, use oven gloves, and carefully remove the bread from the pot. Place on the cooling rack and let it cool slightly until you can slice it. Serve with a big bowl of soup or with butter and jam. [adthrive-in-post-video-player video-id=”Rm2uZAjF” upload-date=”2021-01-22T08:00:00.000Z” name=”No Knead Bread” description=”Effortlessly tasty and deliciously crusty NO KNEAD BREAD is your fluffy crowd-pleasing bread that pairs well with different spreads. An aromatic baked treat you can easily make with just F-I-V-E simple ingredients. You won’t even have to break a sweat with this fuss-free homemade bread!” player-type=”collapse” override-embed=”false”]