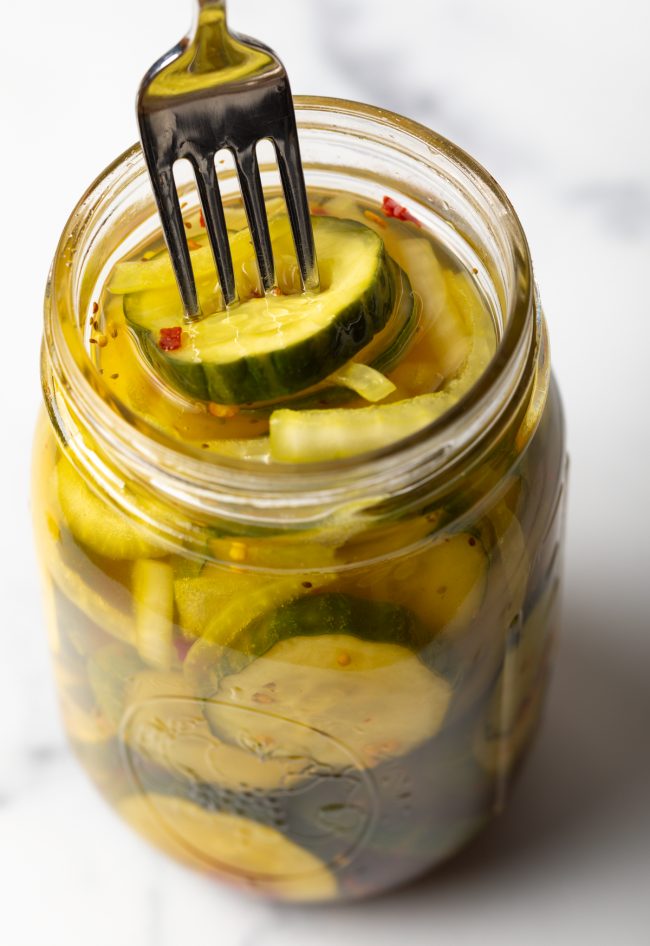
Why We Love Refrigerator Bread and Butter Pickles
Nothing brings perky pep to the table quite like a perfectly crunchy, tangy pickle! They are great for snacking, topping burgers and sandwiches, and adding bold flavor and snappy texture to almost any meal. We have already shared the wonder of making pickles from scratch using a tried-and-true refrigerator method. These Best Homemade Refrigerator Pickles are bright, slightly sour, and bursting with the taste of fresh dill. And while we love our classic dill pickle recipe, we thought it was time to try our hand at another southern favorite: sweet pickles (made in the fridge). Nailed it! This Refrigerator Bread and Butter Pickles recipe makes the sweetest sliced pickles, with a little bit of spice. You won’t believe how easy it is to prepare in just a few simple steps. In a snap, you’ll be enjoying delightfully crispy pickle slices whenever you like. I love this recipe because it is both a) classic and b) customizable – a duo that is hard to pull off well in a dish. But this is it!
What are Bread and Butter Pickles?
Bread and butter pickles are essentially a sweet pickle. Traditionally, Bread and Butter Sweet Pickles include a smidge of spiciness to help balance the sweetness. We’ve included the spice blend we love for the most heat… However, you can adjust the spice to your preferences, including adding more cinnamon sticks or cloves for a deeper flavor, if desired. The beauty of this Refrigerator Bread and Butter pickles recipe is that it can also be used for canning! As long as the pickling liquid is boiling-hot when it goes in the jars, there’s no need to cook the pickles beforehand. So you can use it as either a quick refrigerator pickles recipe or as sweet pickles for canning. So many options!
Ingredients You Need
Our easy sweet pickle recipe features only wholesome ingredients that are much healthier than the additives you find in many store-bought jars of Bread and Butter Pickles. For this tangy, slightly spicy, and wonderfully sweet pickle recipe you need:
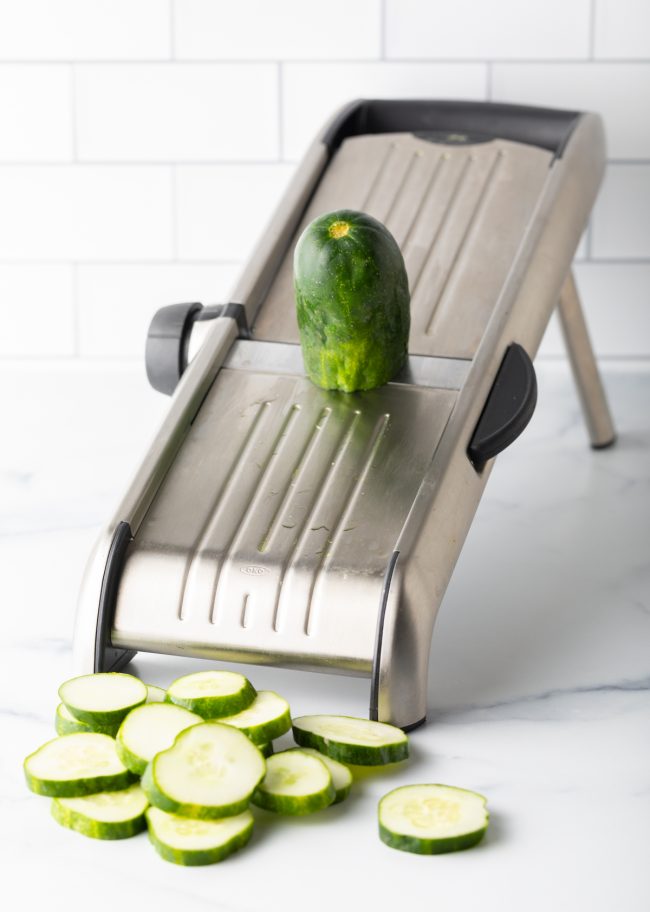
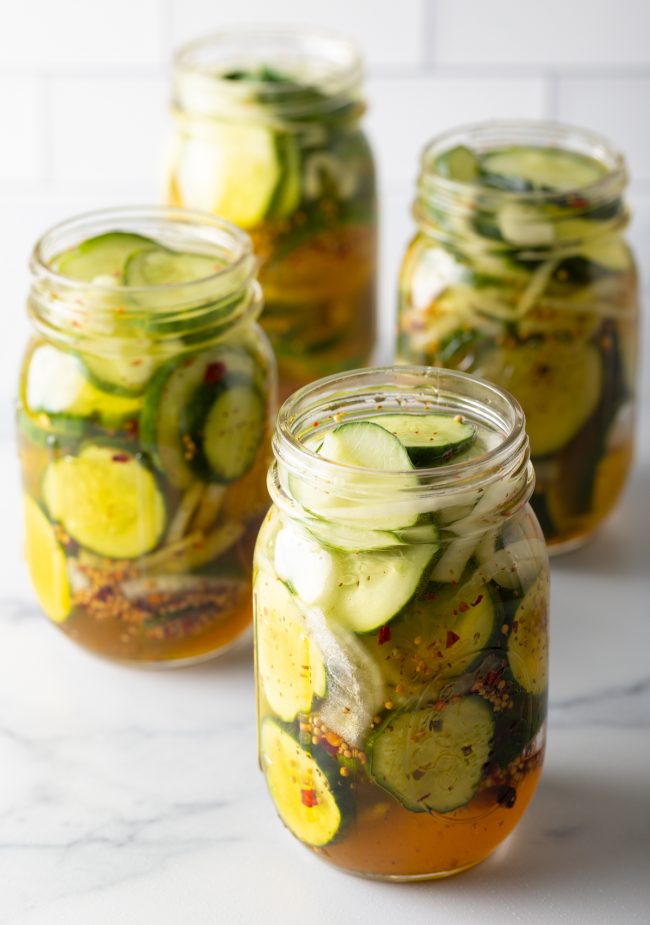
Pickling cucumbers – sliced with a mandolin (more on this below) Sweet onion – peeled and sliced Seasonings – kosher salt, whole mustard seeds, crushed red pepper, celery seeds, cinnamon sticks, or whole cloves Granulated sugar – to bring the sweetness to this homemade sweet pickles recipe Apple cider vinegar – adds a delightfully tangy taste White vinegar – essential for pickling and doesn’t overpower the other vibrant flavors
Feel free to add more or less red pepper, cinnamon sticks and/or cloves to taste. I also like to add a pinch of turmeric powder for that lovely classic yellowish pickle color. But you can leave it out if you want.
How to Make Bread and Butter Pickles
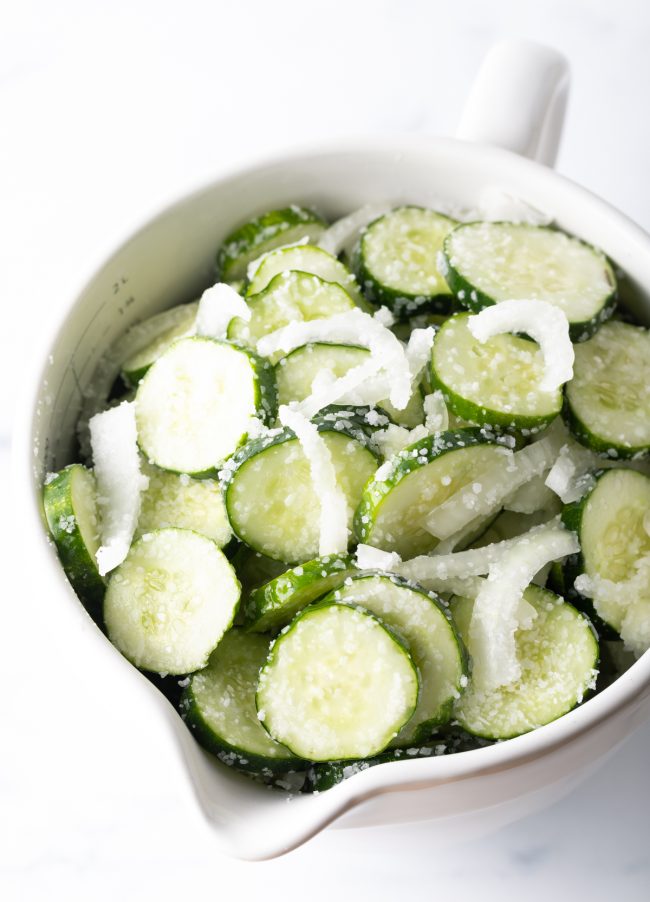
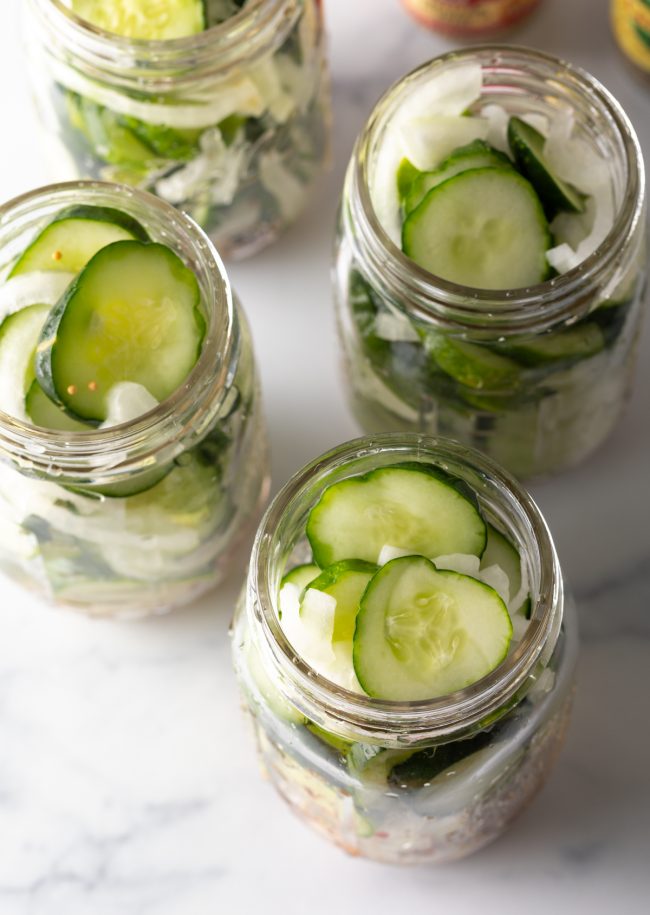
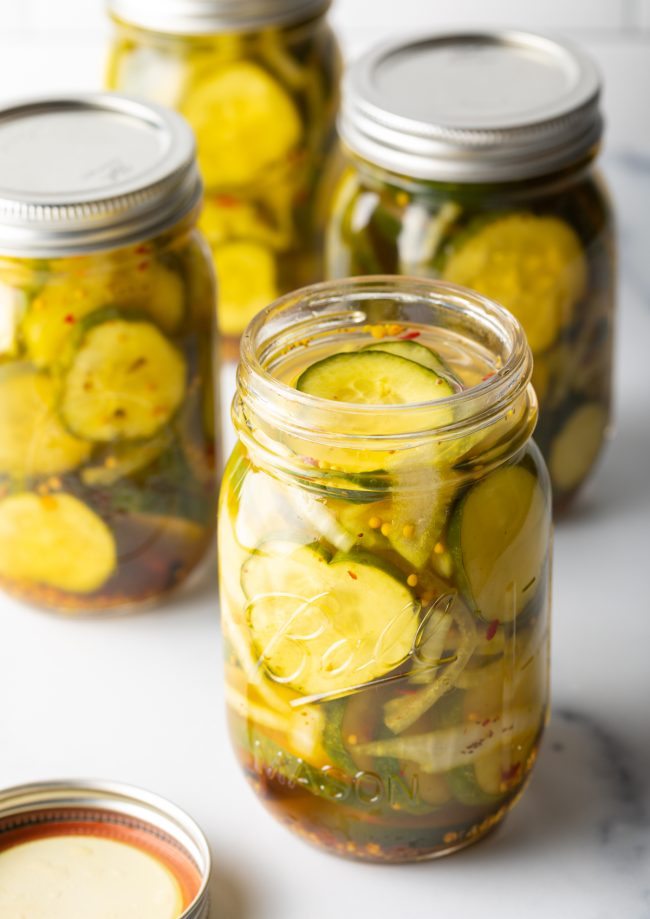
This recipe will walk you through the few simple steps necessary to prepare the pickles. You can then finish them in the refrigerator or use this as a sweet pickle canning recipe. What’s the difference between canning or refrigerating Bread and Butter Pickles? Pickles that are preserved using the traditional water bath canning method will keep shelf-stable for up to 2 years, unopened. On the other hand, refrigerator pickles need to be kept in the fridge (obviously) and need to be eaten within 2 months. So it really just depends on where and how long you’d like to keep them stored. The first step in making the BEST sweet pickles is to slice them into that iconic thin bread-and-butter-style disk. Take out a mandolin and a medium or large bowl. Use the mandolin to slice the pickles into even 1/8 inch rounds. Then quarter and slice the onion into short segments. Place the cucumber slices and onions in the bowl, and toss with kosher salt. This will help pull out (or drain) any excess moisture from the cucumbers. Set them in the fridge to rest for 1-3 hours. Meanwhile, set out for clean pint jars. Divide the mustard seeds, crushed red pepper, celery seeds, and cinnamon sticks between the four jars. Once the cucumber slices I’ve had plenty of time to rest, release their juices, and absorb the salt, rinse them in cold water to remove the excess salt. Divide the cucumber slices and onions between the four jars and pack them well. Set a small/medium saucepan over high heat. Add the sugar, apple cider vinegar, white vinegar, and turmeric. Bring to a boil. Once boiling, carefully ladle the hot pickling liquid into the jars with the cucumber mixture, dividing it evenly. If some of the cucumbers are still sticking out of the top of the jar, uncovered, add a tablespoon or two of hot water to the jars, almost to the rim with an inch of headspace left. Screw the lids on tight and shake the pickle jars. If you are planning to make refrigerator pickles, let them sit at room temperature for one hour before putting them in the refrigerator. However, if you plan to can the pickles you should do so immediately and follow the proper canning procedure at this point. Either way, you prepare them, you should let the pickles rest at least 48 hours before eating. The texture and flavor will improve over the next week.
How to Store Homemade Pickles
Refrigerator pickles keep well for about 2 months. But note that they tend to lose their crunchiness the longer they sit. Pickles that have been canned can last 1-2 years at room temperature if sealed properly.
Serving Suggestions
Enjoy homemade sweet pickles right out of the jar, pair them with bites of cheddar cheese, or include them on a complete charcuterie board or antipasto platter. Serve them with perfect Smoked Brisket as well! They are perfect for making Cuban-pressed sandwiches and are a classic topping for hamburgers. Or go great on top or the side of nearly any sandwich, like Reubens and sliders. Chop Bread and Butter Pickles and use the sweet pickle juice to make other recipes like tuna salad, our Best Easy Remoulade Sauce, and Homemade Tartar Sauce.
Looking for Perfect (And Easy!) Pickling and Preserving Recipes? Be Sure to Try:
Giardiniera Pickled Vegetables How to Make Pickled Eggs (Spicy Beet Pickled Eggs) Quick Pickled Red Onions Hella Jalapeno Jelly Recipe Best Easy Freezer Jam Homemade Pickle (Dill Pickles with Red Pepper Flakes)
Check out the printable recipe card below for the nutritional information, including calories, sodium, and fiber percentages. Share This Recipe With Friends!