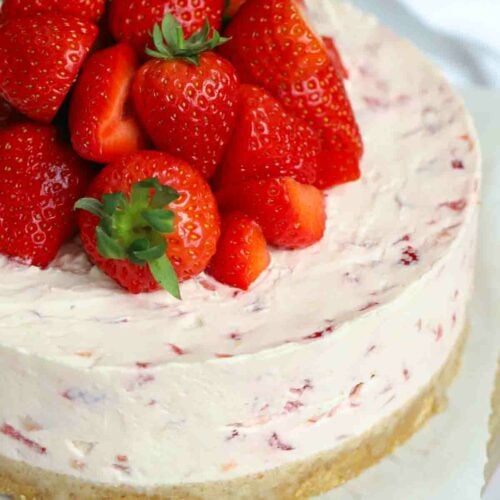
Fresh strawberries and whipped cream, with a crunch of delicate crushed biscuit… is there anything that shouts summer dessert than this Strawberry Cheesecake? It’s simple in its design, easy in its making but what I love is how unbelievably impressive and delicious it is for maximum pudding impact, whatever the occasion. Whip this up for summer parties and BBQs, or any occasion that requires a dessert with bells (or strawberries) on!
Why you’ll love this Strawberry Cheesecake recipe
⭐️ No baking involved ⭐️ Perfect to make ahead ⭐️ Packed with the taste of summer! This strawberry cheesecake is a simple recipe, but below are some tips and tricks to follow to make sure you get your cheesecake just right, looking pretty and utterly delicious.
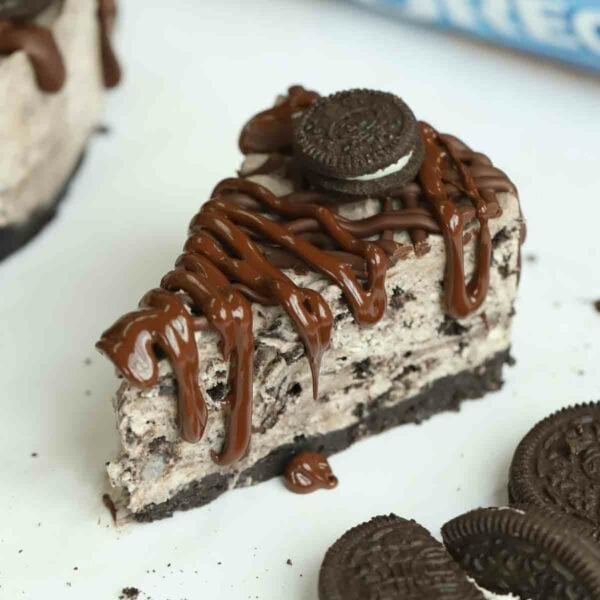
Oreo Cheesecake {EASIEST EVER No Bake Recipe!}
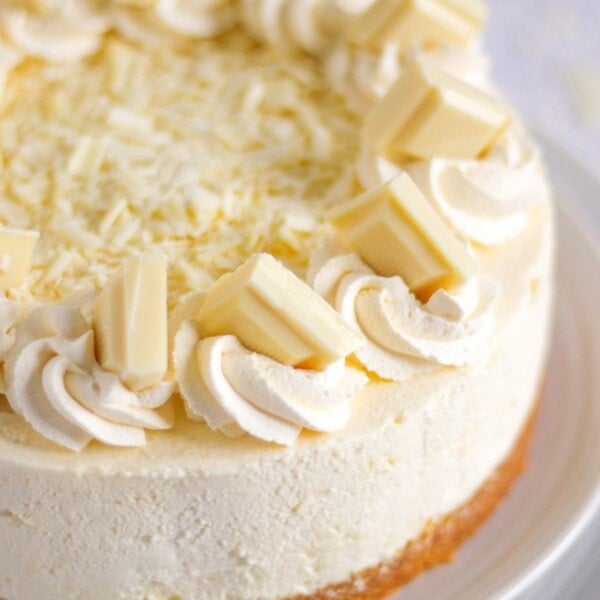
White Chocolate Cheesecake {NO BAKE Recipe}
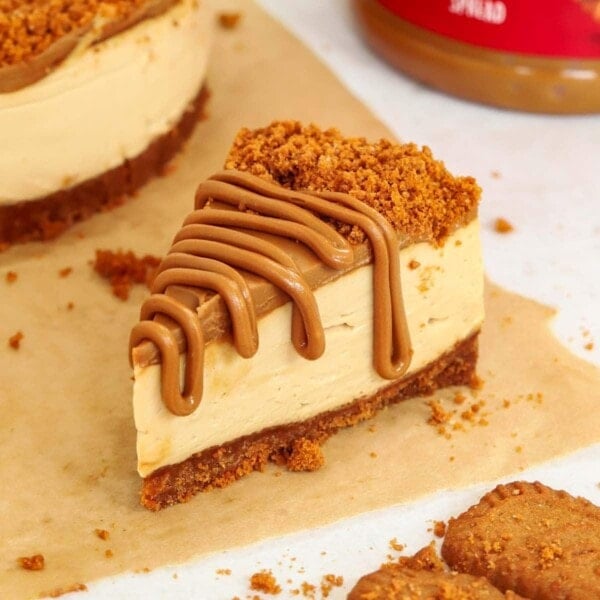
Biscoff Cheesecake {5 Ingredient Recipe!}
Lemon Cheesecake {Easy No Bake Recipe}
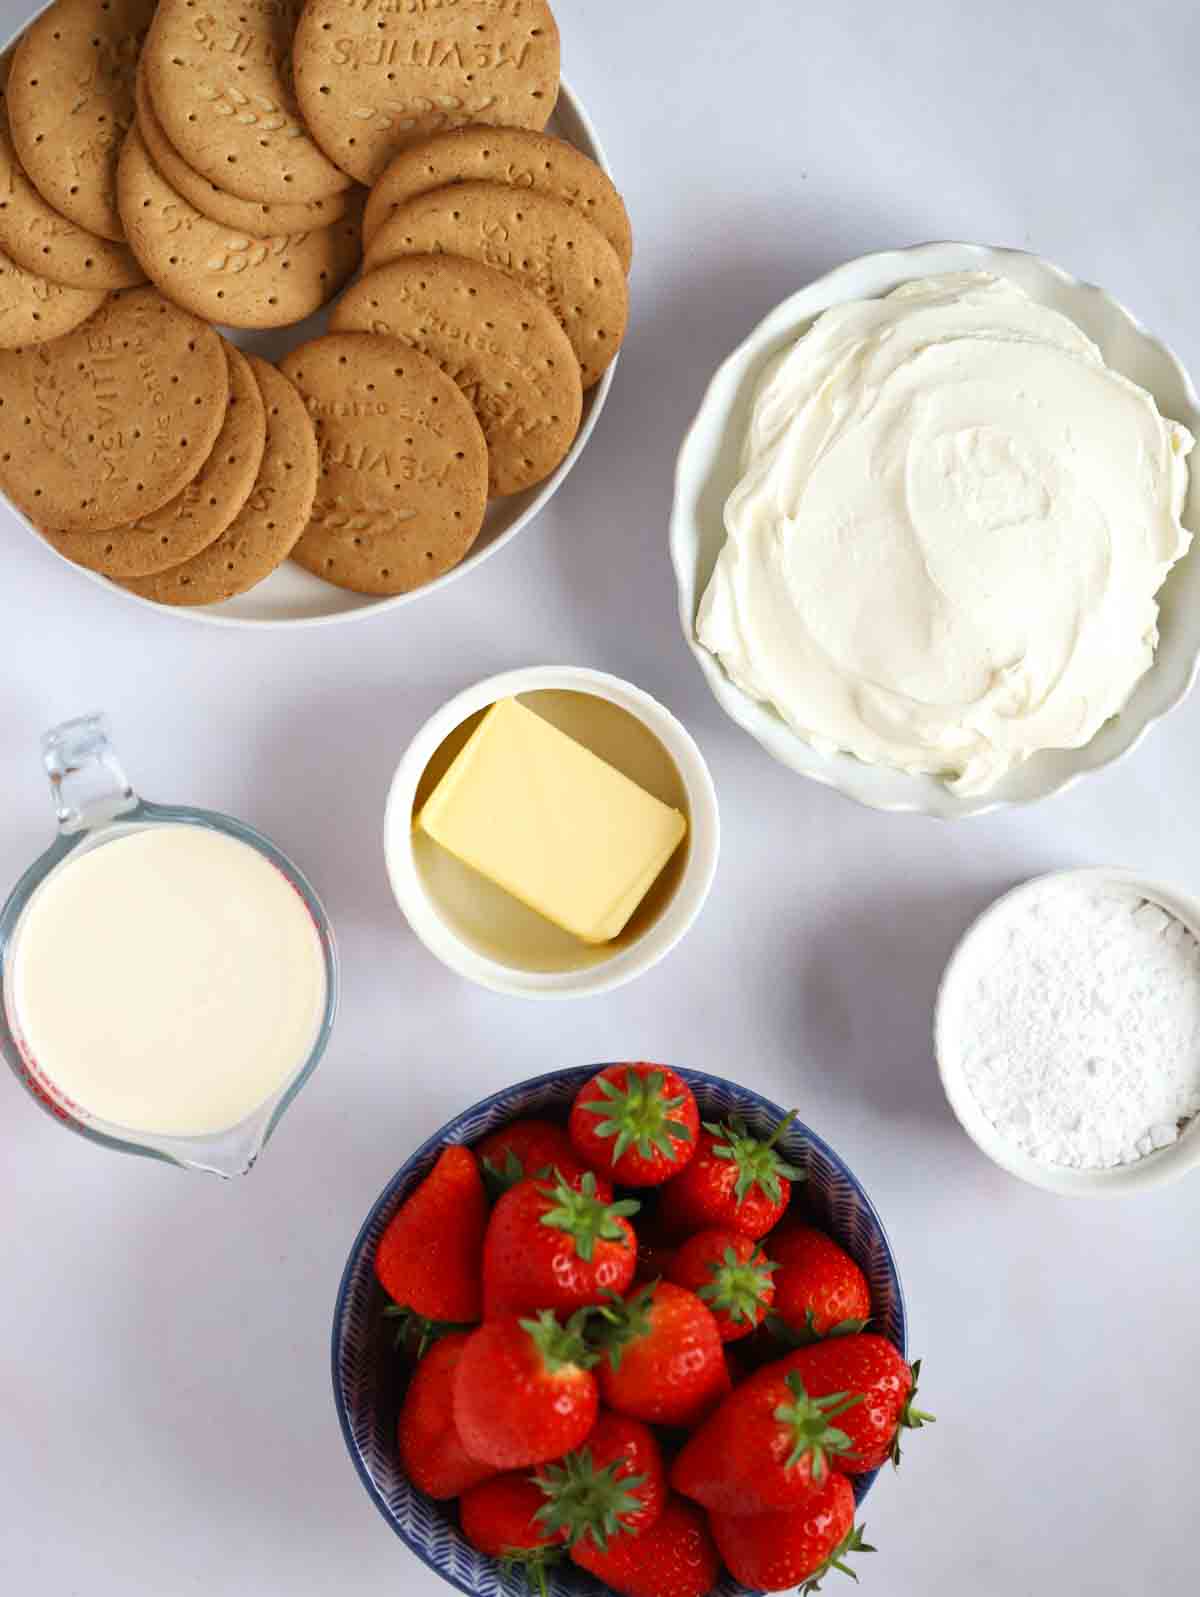
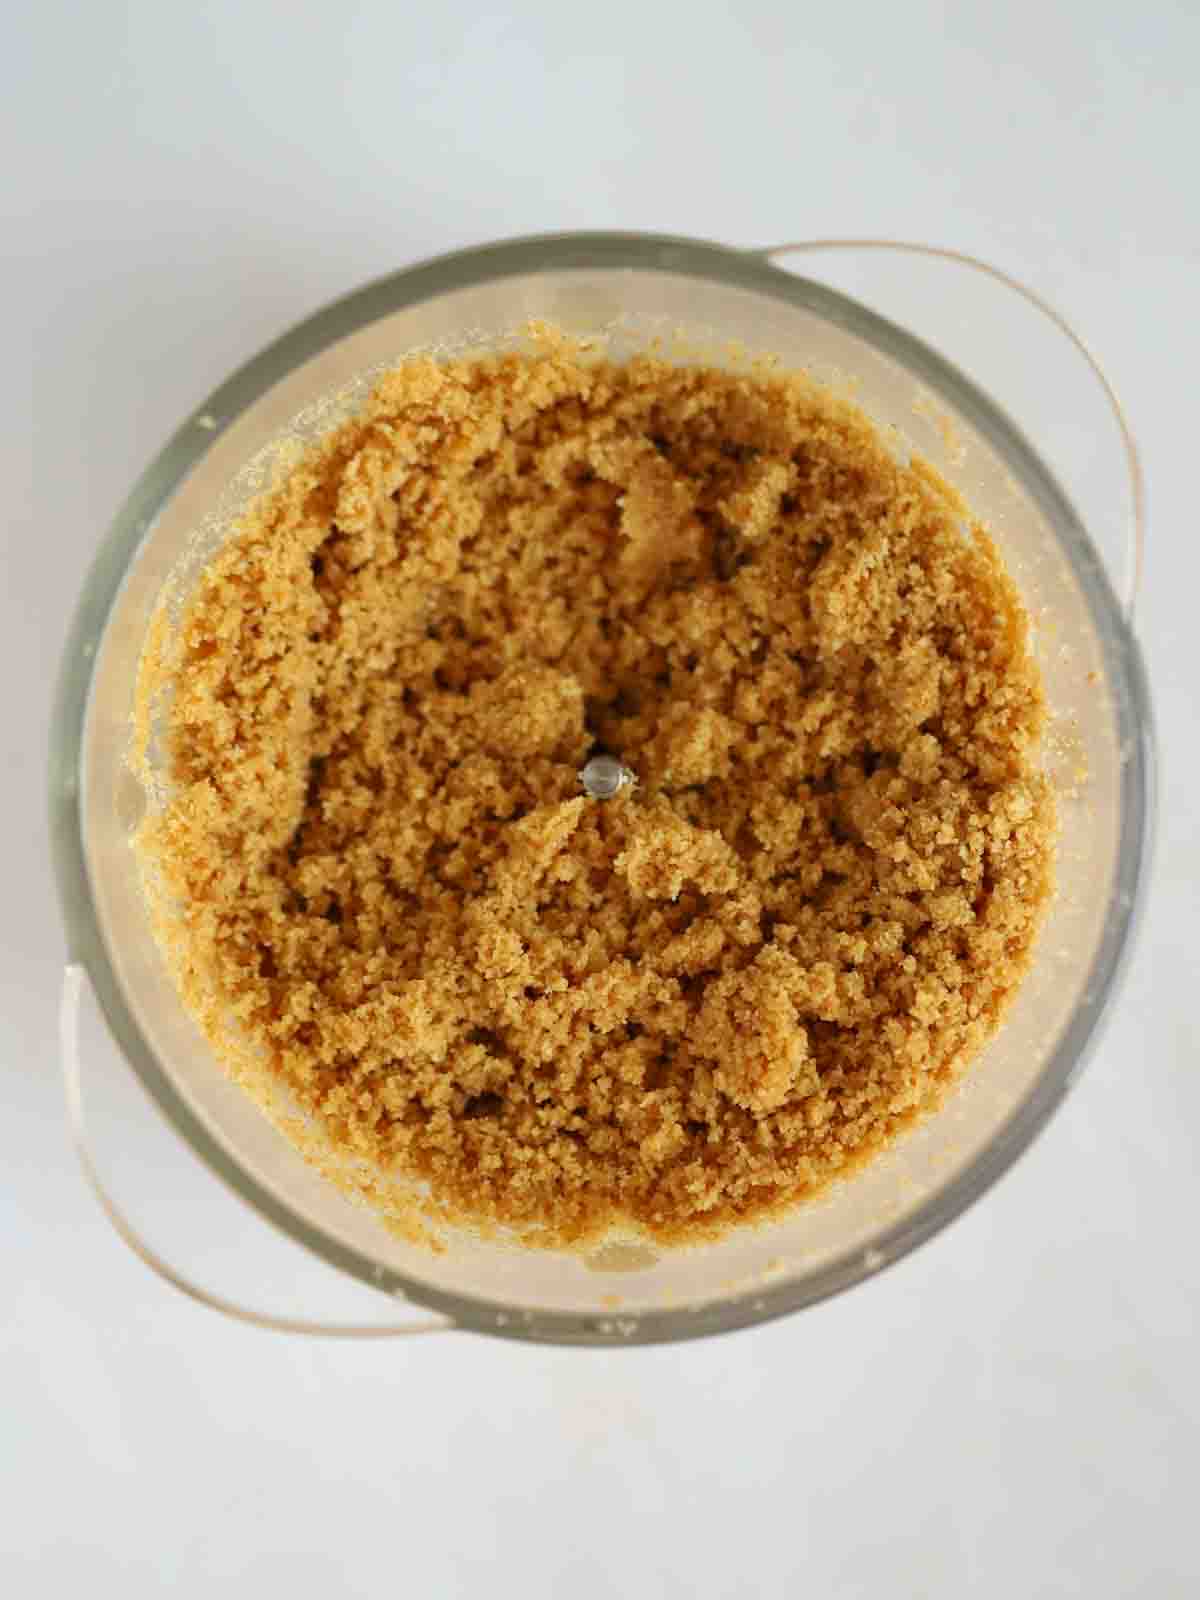
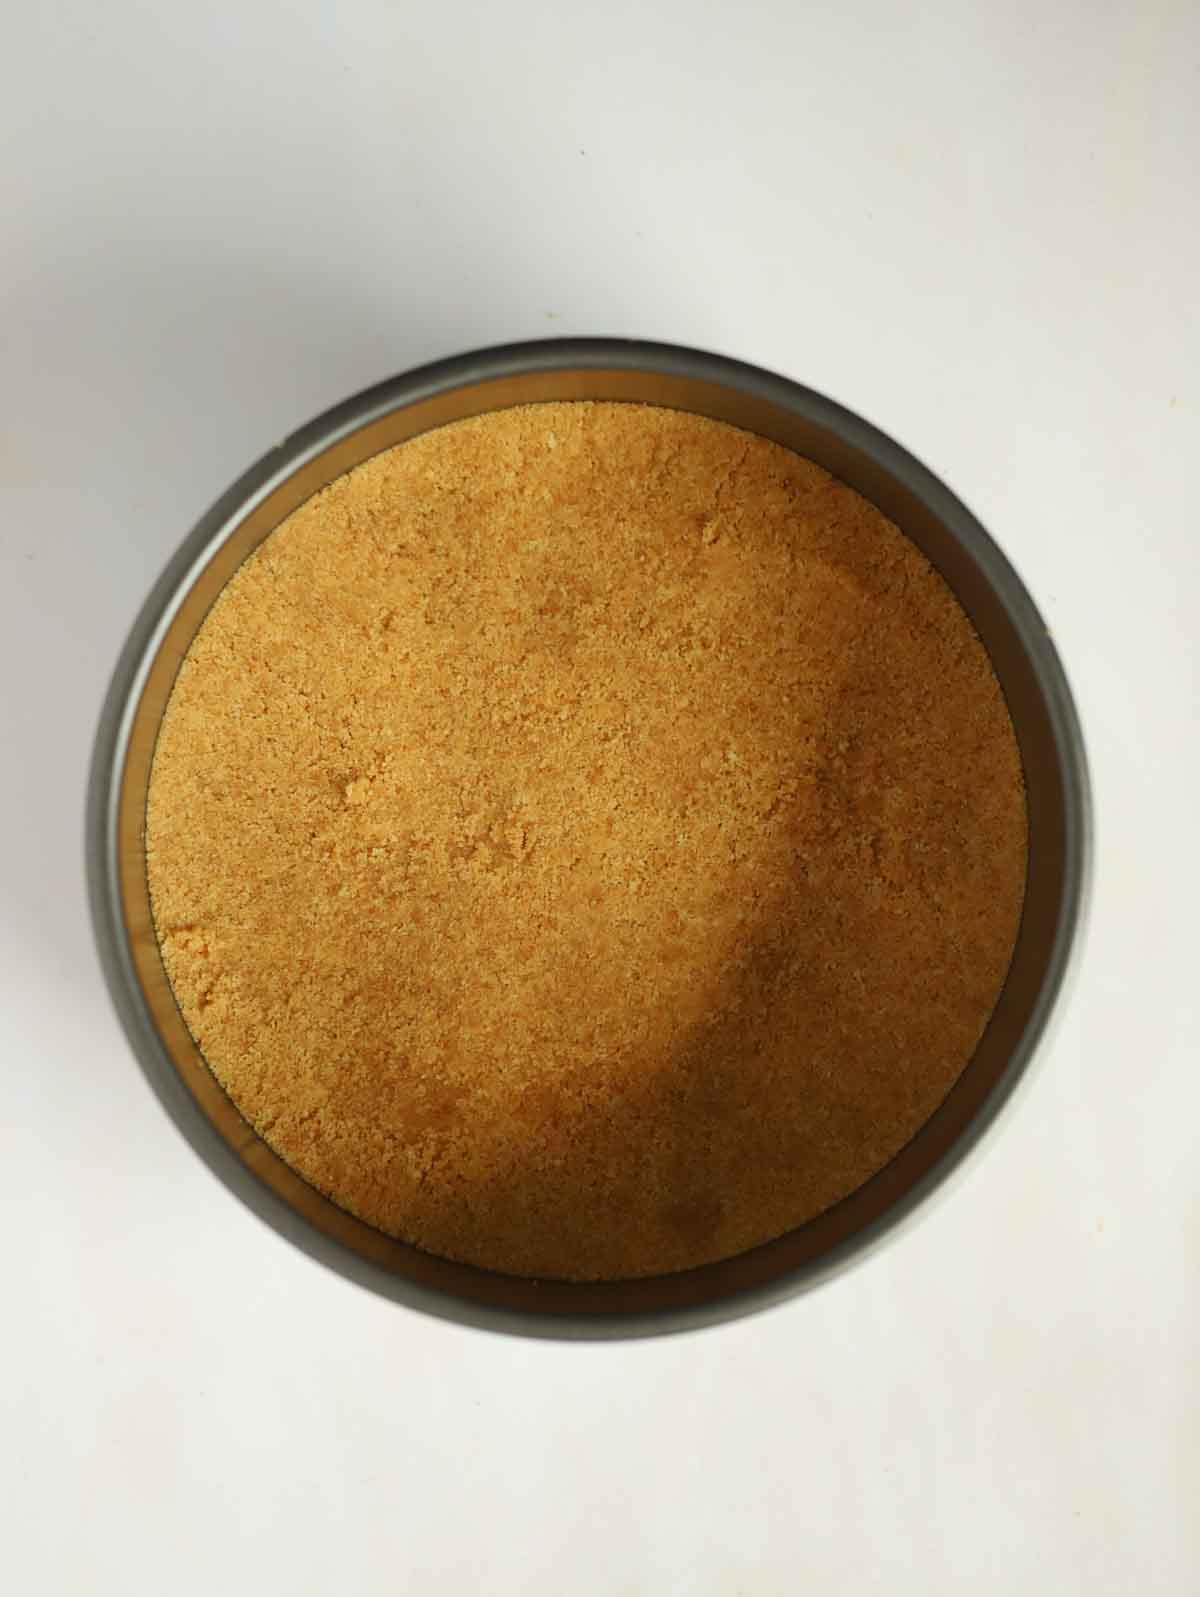
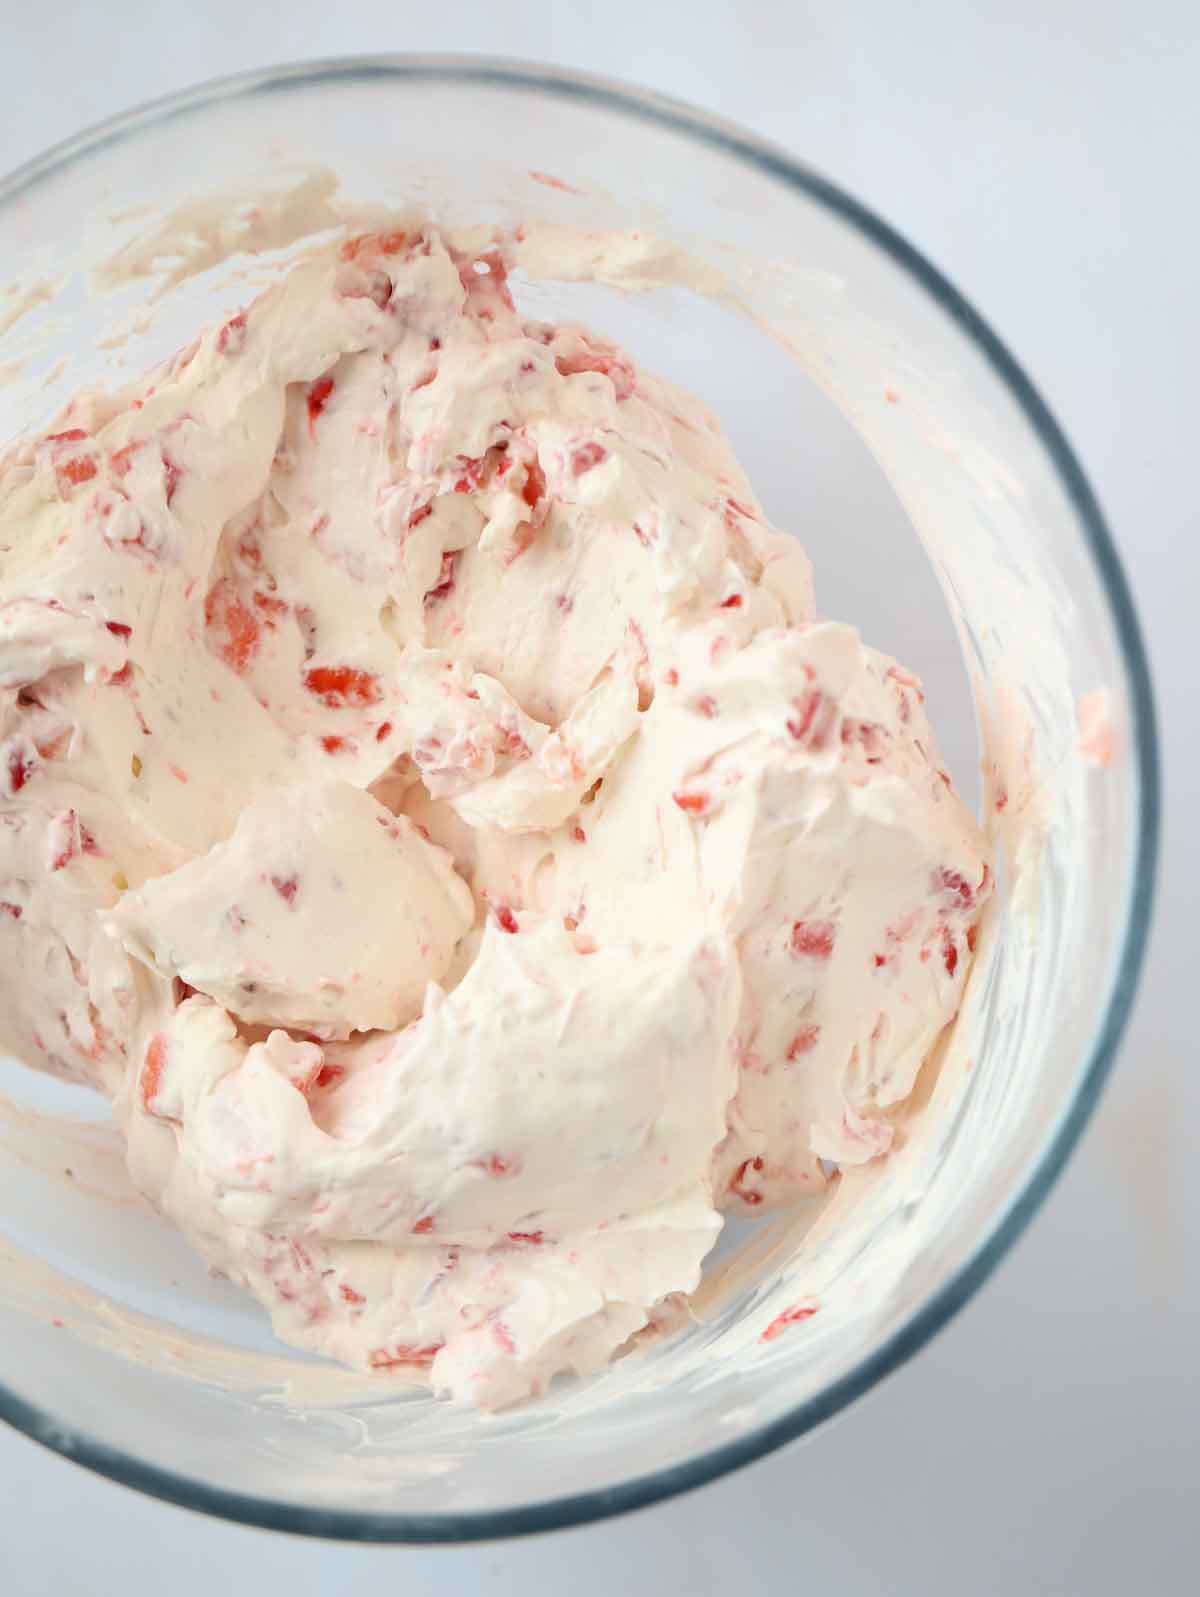
You can store the cheesecake in the fridge (without the topping) for a MINIMUM of 4 hours and up to 24 hours from preparation. Be careful not to leave for too long as the liquid from the strawberries will make the cheesecake soggy. Leave it in the tin in the fridge and cover with a dinner plate or cling film (but make sure it doesn’t touch the surface of your beautiful cheesecake!) Can cheesecake be frozen? I would not recommend freezing this cheesecake as strawberries can become very watery when defrosted, impacting the texture of the cheesecake. How about trying my White Chocolate Cheesecake or simple Vanilla Cheesecake instead if you need one to freeze? Do sift the icing sugar. It will give a much smoother texture to the cheesecake. (Don’t ignore this as I normally do!) It should be sliceable but not solid (something like room temperature butter), and it should quiver but not wobble. We’re using 400g for the strawberries inside the cheesecake filling, so to speed up the process of finely chopping them, I’d recommend this mini chopper. It comes in handy for so many other recipes too. I use a food processor because it helps get that nice, fine consistency. If you’d prefer to do it by hand, just put the biscuits in a food bag, seal the top, then bash with a rolling pin or something fairly heavy to get the fine crumble. The trick here is to use a tin with a springform (one that has unclippable sides) or a removable base (I like these Masterclass 7″ Removable Base tins that I’ve had for years). ➡️ Warm a regular dinner knife under a hot tap and then dry it. ➡️ Use this to run around the outside of the cake, inside the tin, before removing it. Remove the knife and wipe as you work your way around the cake. ➡️ If you have a removable base, sit the tin on a tall glass and carefully press down so the sides of the tin can slip down lower than the cheesecake and you can easily remove it. Also I’d LOVE to see your cooking creations. If you’d like to share yours with me, you can tag me on Instagram (@tamingtwins).